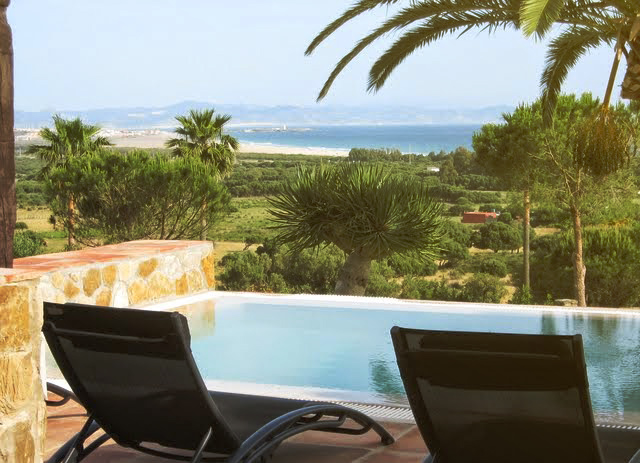
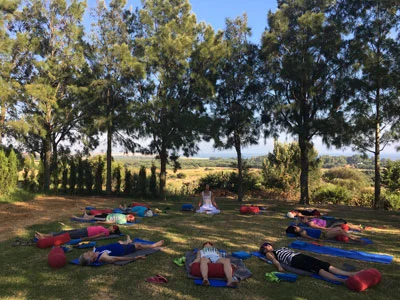
Last week, I ran my first yoga retreat for a week in Tarifa, Spain. It was in a gorgeous villa with a beautiful sandy beach only 10 minutes walk away. It also had a lovely large garden with an indoor swimming pool as well as an outdoor paddling pool. View from the house was just stunning! It over looked a long stretch of the beach and you could even see Tangiers on a clear day. It was just a magical place to stay!
The retreat was fully booked and it was with mostly my students. Some brought their family along too. We ate two meals together every day and the food was delicious, varied and healthy. In particular, smoked grilled aubergine with goat cheese was a major hit! You could really see the work that chefs put to make each meal memorable.
Everyone got on well with each other and we really had a great time. We did a trip to the Roman ruins and went on Whale watching tour and saw Pilot Whales! Some people even went climbing, horse riding on the beach and to see flamenco music.
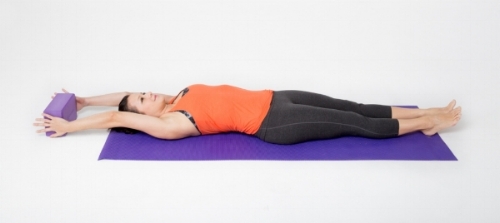
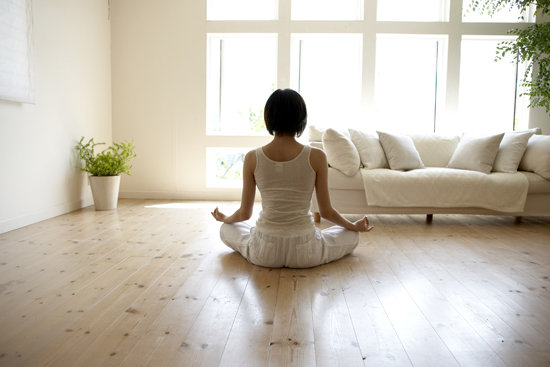
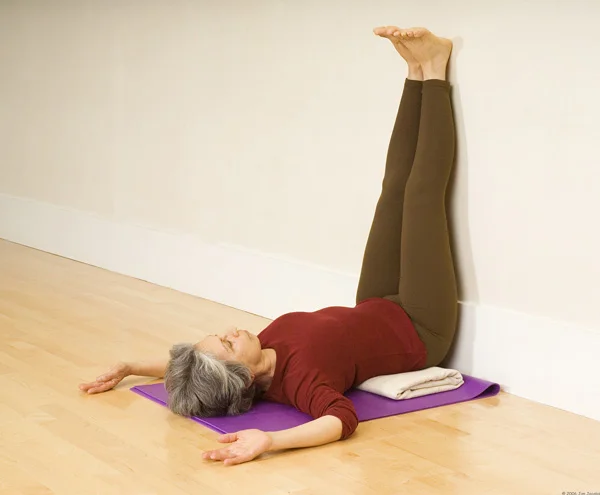
There were students of all levels from a pupil studying to become a yoga teacher to beginners. I planned the week to cover whole spectrum of yoga practices such as meditation, pranayama, chanting, mudras and kriya. I also read relevant yogic texts such as Upanishads and Yoga Sutra and inspirational quotes in the sessions. We did partner yoga as well as group work, which really helped to bring everyone together. It was really lovely to be able to spend more time going into depth with these practices. Tracey, a student teacher, taught one of the restorative classes too. I got to be taught for a change!
All of these combinations of factors made the experience so wonderfully relaxing. In fact, one of the participants said to me during the retreat that he never felt so relaxed and settled before. It was great to see people opening up and enjoying themselves.
During the retreat, I hardly went on the laptop or phone. One of the things that I noticed when I got back is just how much time I spend on devices and being in doors. Because the weather was so good, we did yoga and ate outside every day. It’s amazing being able to spend lots of time outdoors!
Even though we were going to bed late (the dinners lasted 2 hours or more for most evenings) and waking up early, I felt really healthy, balanced and energised. I even managed to rescue and adopt two abandoned cats!

I received so many positive comments and they even bought me flowers and gifts at the end of the retreat. Here is feedback from Lorna Brown, one of the retreat students:
Thank you both so much for organising the Tarifa yoga holiday. I really enjoyed it all so much, it was just wonderful, and a great part of it was meeting you and the others, very good companionship.
The yoga was so good for me, Naomi, I had expected to be at a loss, after not doing it for so long, but your excellent way of teaching reminded me what an important and restorative thing it is to do, and convinced me to continue.
The venue was really great, the setting, accommodation and nearness to the sea for swimming, and the food! Walking, whale watching, flamenco, just brilliant, and all with such a good group of new friends.
I’m sure we will be running more yoga retreats in the future so watch this space!